Wednesday, March 27, 2013

Indian Gun Powder Spice Mix

Blog's Category: My Successes, International,

Indian Gun Powder


Intro
 
Gun Powder is mix of Indian spices I come across when I was watching one of my favorite Indian cook videos at Youtube Vah Reh Vah channel. Originally, this powder is used with Indian idlis or dosas and called Milagai Podi. I've made it for a first time to accompany my idli I cooked not so long ago. Idli itself came out so-so but gun powder we were eating it with, made for a whole dish. Since then, I love my Gun Powder and have a small jar handy at the both of my "camps" - at work and at home. The best part - it can be sprinkled on top of any, already served, meal - it will bring it to another level of deliciousness.

For those who likes Indian cuisine and adores aroma of curry leaves this spice will be the # 1, "must have", magic wand that will come to the rescue when meal standing in front of you just "don't cut it".

Also if there would be such a thing as aroma-spice-therapy, this mix would win a highest rank too!

Making this spice mix will take about 30 minutes of your time, but outcoming product will bring months of enjoyment (and aroma therapy!) to you.

The most important ingredient of this spice, curry leaves, is a spice herb (leaf) that I discovered for myself a few years ago. Along with kaffir lime leaf (which deserves its own post!), curry leaf is one of the most valuable ingredients of Indian and oriental world of spices.

Besides being tasty, it is ...

- healthy (dah..it's spices..name me one spice that is not healthy for you :))

- has very long shelf life (up to a year..possibly more)

- great rescue tool which will bring mediocre, bland or even "something wrong" meal to a pleasurably consumable one.

- can be used as aroma therapy - carefully sniff it to activate your positive "chakras". I say carefully because, blended into fine powder you may incidentally sniff to much (oh, yes, close your mouth while sniffing just not to inhale the stuff into your tracheas).

Taste Description
 
Besides sickly strong, extremely pleasant aroma, it has spiky and kicky taste. Somehow, being a "spicy" spice, this mix have that mild taste/flavor that you can feel on the back of your mouth long after you swallowed a bite. That's hard to explain, just make a mix, and, if you are "curry leaf" guy/pal which likes a little kick to his meal - you'll thank me! You are welcome!
How to Serve
Sprinkle on a top your food. I like to sprinkle it on everything that does not meet my standards of deliciousness - bland 7-grain pilaf that I had today for a lunch, or weird tasting mushrooms I cooked in a hurry for yesterday's dinner.

Indian Gun Powder


* I buy all ingredients below in Indian store. With this ingredient ratio you will end up with a medium-light spicy mix - just right for a western foodie who are not used to, but loves, Indian cuisine.
  • 5 small dry whole red chili peppers *
  • 1/2 cup dry uncooked rice
  • 1 cup chana dal
  • 1 cup urad dal
  • 1/4 cup whole black peppercorns
  • 20-30 fresh curry leaves
  • 2 pinches asafoetida powder (hing), optional
  •  

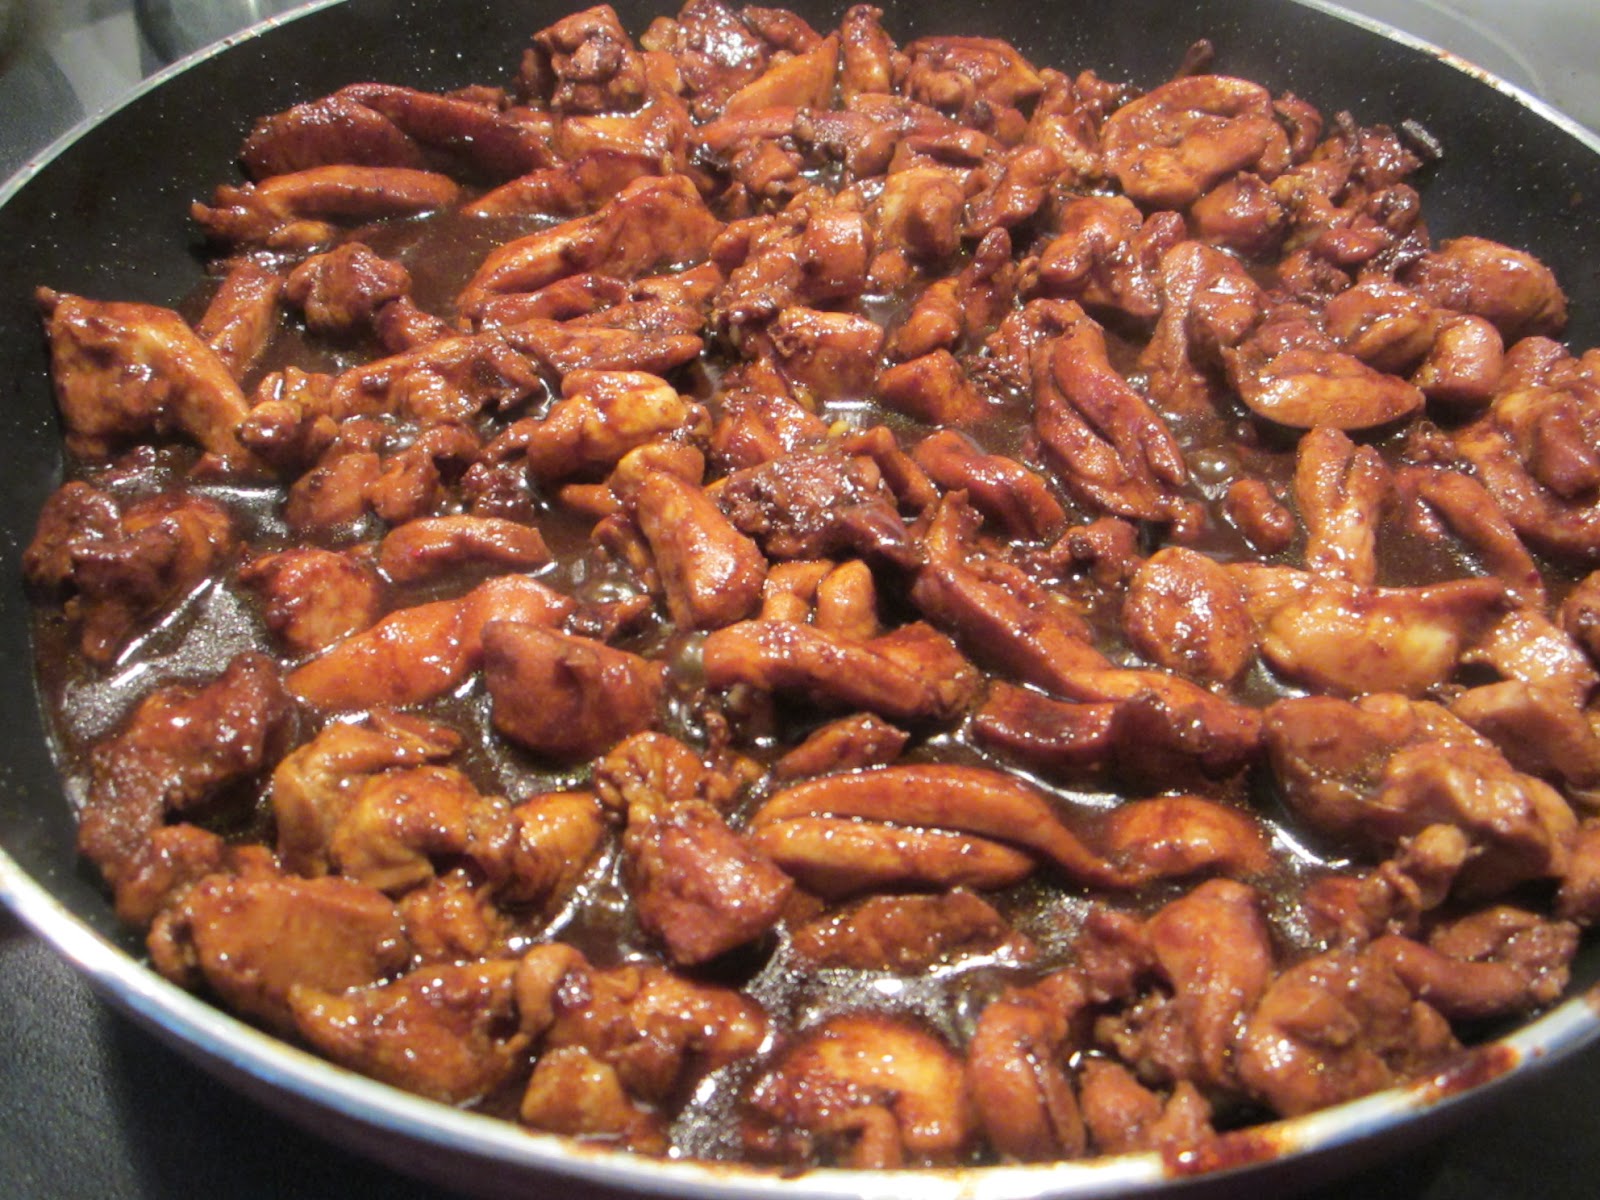
- You will need to cook ingredients below stirring them constantly all the time to ensure they will cook evenly until golden brown.

- First, on a dry skillet, on a medium-low heat, cook dry chili pepper until they become darker, for about 5-10 minutes. Do not forget to stir it all the time.
- Add chana dal and rice and cook, stirring, until chana dal becomes darker and rice will be light-beige.
- Add urad dal and peppercorn and cook, stirring, until urad dal becomes beige in color.

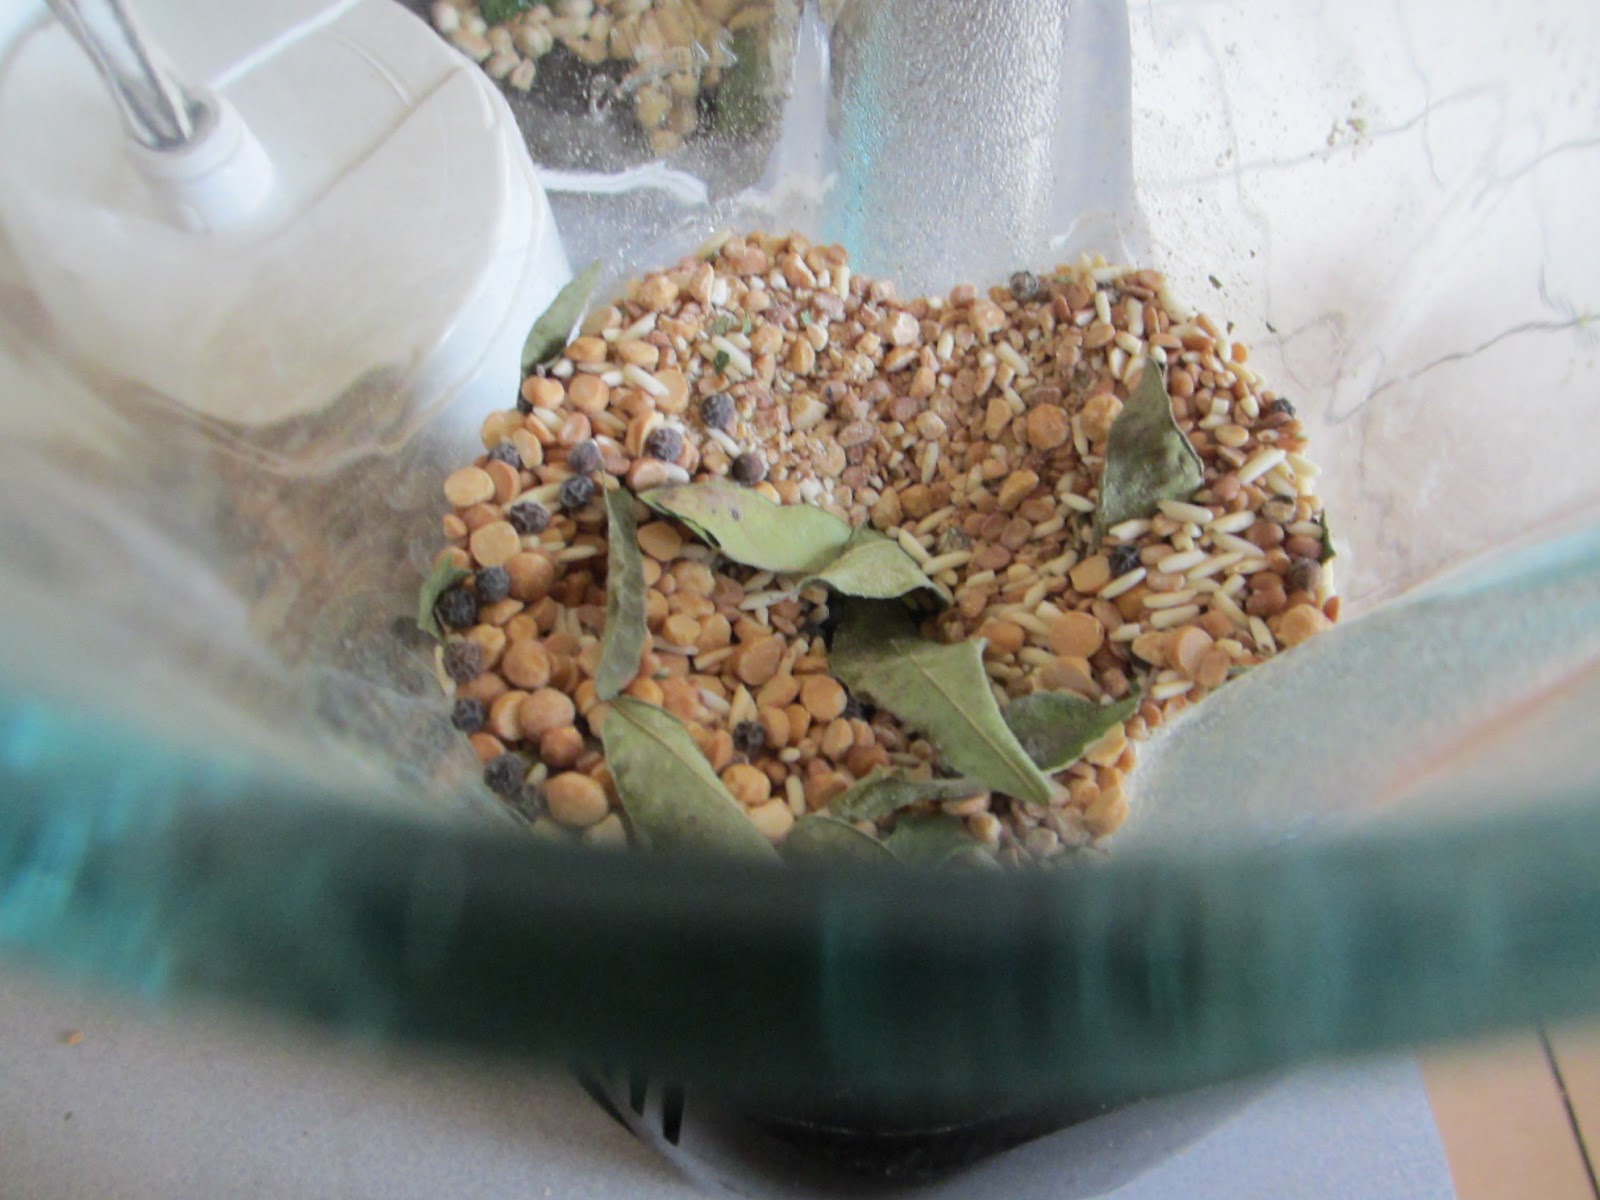
- Add curry leaves and cook stirring until leaves are completely dry and become more pale.

- Add asafoetida powder, stir couple time and take off the heat. Keep stirring for another minute or two to prevent burning.

- When your dal mix is cooled down completely, using blender, blend this mix, into semi-fine powder.

- Transfer gun powder into dry glass jar, tightly covered, and keep on your spice shelf for many months to come :) Enjoy!

*********************************************************************************************************************************
IN PICTURES


Rice with gun powder - I can eat it on its own.

7-grain Kashi hot cereal is too bland without my gun powder. Along with instant miso soup, it made my tasty lunch today (see picture below)


I looove to eat avocado in its "undisturbed" form. Here, I scooped pieces of avocado on a top of pita, smudged with a parmesan spread. As avocado always require some kind of "zing" partner, gun powder sprinkled on a top, is exactly what this open-face sandwich was lacking. I've got my delicious breakfast sandwich!


Variations

- You can add sesame seeds to the mix but in this case you will shorten shelf life of your gun powder.
- If you are curry leaves lover - don't be shy on curry leaves!

Sunday, March 24, 2013

Lazy Chicken in Black Bean Sauce

Blog's Category: My Own Fast and Easy

Lazy Chicken in Black Bean Sauce


Intro
Yesterday, I felt lazy but listening to naggings of my folks complaining on the absence of proteins in a fridge, under this heavy weight of guilt ^&*% I got up and in a matter of 10-15 minutes I put together this chicken which turned out really-really delicious. I'm in a hurry to share the recipe with you because it so practical for our today's busy life and exceptionally yummy.

Besides being tasty, it is ...
- healthy, no extra fat required beside that in a chicken
- super ea-a-a-a-sy!
- great emergency chicken recipe - ready in a 15 minutes!

Taste Description
With use of black bean paste, slightly on a sweet side and with a reasonable amount of red pepper kick, this chicken recipe has oriental (Korean?) vibe to it. Balsamic vinegar (something out-of-oriental) adds dimension and, along with sugar, plays perfect supplemental duet to the main hero of the sauce - black bean paste.
How to Serve
Serve it piled on a freshly steamed jasmine rice, or with any other vegetable or grain-based side.

Lazy Chicken in Black Bean Sauce


  • 2-3 lb boneless skinless chicken thighs, cut into 1/2" strips
  • 1 tbs black bean paste (any asian market sell it)
  • 2-3 tbs balsamic vinegar
  • 2-3 tbs jaggery (raw cane sugar) or brown sugar
  • 1-2 tsp crushed red chili pepper (sriracha sauce will work too)
  • 1 tsp onion flakes (optional)
  • 1 tsp turmeric powder (optional)


- Place chicken in a cold skillet, turn heat to medium, add all remaining ingredients, cover with lid and let it cook for 5 minutes.
 
- Stir chicken thoroughly to coat all chicken pieces evenly with a sauce.
 
- Let it boil slowly, covered, for 10 more minutes. Turn heat off. Your asian-style chicken-express is done! Enjoy!

*********************************************************************************************************************************
IN PICTURES


Variations
- Use your favorite spices or herbs here with those "the must" ingredients - black bean sauce, vinegar and sugar - those three are the main characters of the dish.
- I'll be trying the "perfect trio" on another food - seafood, vegetables or other kind of meat. It sounds very promising to me!

Saturday, March 23, 2013

Eggplant Walnut Rollups

Blog's Category:  USSR-era Recipes, My Staple Food

Eggplant Walnut Rollups


Intro
I have made eggplant rollups before, many times, with various fillings, but this time I was determined to make it authentically Georgian. Georgia is a great place on Earth, one of the former Soviet republic, known to us, former soviets, as the most hospitable and lavish among all republics, rich in its ancient culinary and wine consuming traditions.
  
In Ukraine, Georgian cuisine was always ranked extremely high because of its herbacious, spicy and exotic flavors: large amount of spices and herbs are the most distinctive feature of Georgian food. Now, after years of learning and cooking all-over-the-world recipes, I can tell that Georgian cuisine is some kind of fusion of Middle-Eastern and Mediterranean cuisines with its own special unspeakable Georgian charm that we all, "soviets", love.

Getting back to our eggplant rollups... Scrolling through numerious blogs of native Georgian home cooks (in Russian language), I discovered the recipe of that special walnut filling used in many authentic Georgian dishes. Great eggplant dishes with nutty filling that I enjoyed many years ago in my previous life, bubbled up in my mind and I dicided to make these eggplant rollups.

And hey, this is not the end of "Georgian road" for me - I know that I'll put my hand on other distinct Georgian dishes - they are lovely and I can't wait to try them out.

Besides being tasty, it is ...
- healthy - dah...
- it's a great hor's doeuvre food
- very original, one of a kind appetizer

Taste Description
This recipe does not have much "spicy spice" in it but it has an enormous amount of layered flavors of a perfect combination of herbs, spices and garlic. Relatively bland taste of eggplant taken up at a sky-high level with that very special herby-ness and distinctive flavor of a walnut filling. Texture is soft, buttery and delicate, with a tiny graininess of ground walnuts. It's a pleasure on a plate!
 
How to Serve
Serve it at room temperature or cold. It will keep in your fridge for a several days.
 

Eggplant Walnut Rollups

  • 2 medium-small eggplants, sliced along into 1/4" slices
  • olive oil for frying
  • 2 cups raw walnuts
  • 5 garlic cloves
  • 1 tsp dry fenugreek seeds (ground) or dry fenugreek leaves, crushed
  • 1 tsp ground coriander seeds (preferably homemade : dry roasted and then ground)
  • 1 tsp ground red chili pepper
  • 2 tbs wine vinegar
  • 1 cup (or more) boiling hot water
  • 1 cup fresh cilantro, chopped
  • dash of salt to taste

- In a non-stick skillet with a 1 or 2 tbs of olive oil, fry eggplant slices on both sides until golden-brown and completely cooked (poked with a fork at the stem-side edge, they have to be soft). To speed up the process use 2 skillets at a time.

- When all eggplant pieces are cook, let them cool down. Meanwhile prepare walnut filling - process walnuts with a garlic, ground fenugreek, ground coriander and red chili pepper into medium-course mixture.

- Transfer ground walnut mixture into a bowl, add boiling water and mix walnut mix nicely. Add more water if needed - you have to get medium-thick, a little runny somewhat grainy paste (note that it will thicken when cooled down). Let it cool down for 10-15 minutes - walnuts will swell and boost its flavor. Then add some salt, wine vinegar and chopped cilantro.

- When both, eggplant pieces and filling, are cool, start rolling up - spread about 1 tsp of filling on a eggplant slice (stay away from the edges for a neat rollups) and roll eggplant up.

- Place rollups on a plate, sprinkle with some cilantro and red chili pepper and serve. Enjoy!

*********************************************************************************************************************************
IN PICTURES


I'm still a bit clumsy using chopsticks for cooking but I see them as much more esthetic, convenient tool for this specific task of frying eggplant slices than any other kitchen utensils.


It looks a little runny but it will become thicker shortly (see shot below) 


Important Notes
- When frying eggplant, it may seem to you that there is not enough oil - don't  be tempted to add more oil -  just turn heat lower not to burn them and let them dry-cook to let it cook through. Flip over, give it a tiny splash of oil and cook this side in a same manner. This way you won't end up with an overly oily eggplant. You may also bake it in an oven if you wish - this would be the safe way for not-oily eggplant.
Variations
- You may try different variations of spices and herbs for a walnut filling. But to get that unique Georgian taste you have to have this exact combination. I have to admin that instead of fenugreek and coriander seeds I used russian-store-bought, ready-to-go spice mix called "khmeli-sooneli". Besides fenugreek and coriander this spice has "imeretin saffron" in it which is, in fact, crushed marigold petals. I hope this "imeretin saffron" won't make a huge difference for you. Just taste your walnut filling - if you are still not happy with it, try adding cumin powder, it will deviate it from the authentic Georgian walnut filing but will surely update a taste.
- To simplify the process (and I also do not fill it's nesessary) I do not salt, wait and pat dry eggplan pieces prior to frying them as many sources recommend. But if you think it's nesessary... Happy cooking!
 

Thursday, March 21, 2013

Garlic Lime Acorn Squash

Blog's Category:  My Staple Food

Garlic Lime Acorn Squash


Intro
This recipe is on my menu for years already and it is consistently everybody's pleaser. I remember getting this recipe somewhere from one of my favorite sites: either Epicurious or FoodNetwork. As much as initial product (Ha! Acorn Squash!) may sound unappealing to some - that much the same people say "wow" after tasting it, including kids (you know, go, try to please those picky eaters;).

Besides being tasty, it is ...
- healthy - no doubt about it
- not much fuzz about cooking - simple steps, minimal preparation, few ingredients
- no need to peel - a bit chewy skin is one of the "attractions" of this dish
- good looking, prettyyyyyyyyy!

Taste Description
Natural squash's sweetness, contrasting with acidity of lime and mighty garlic, creates a perfect balance of tastes. Garlic flavor, supported with a fresh whiff of lime zest, will drive you toward some sort of fusion of latino/thai cuisines. Visualy mild dish will burst in your mouth with a big flavors - you will find yourself returning to this recipe over and over.


How to Serve
I serve it at the room temperature but it is still great cold, after seating day or two in a fridge.

Garlic Lime Acorn Squash

 
  • 1 acorn squash, washed and sliced in sections just under 1" (unpeeled)
  • 1 large lime, zested and juiced
  • 3-4 garlic cloves, finely minced or grated
  • dash of salt and black pepper to taste
  • 3-4 tbs olive oil

- Preheat oven to 375F

- Mix lime juice with a garlic, set aside.

- In a large bowl, shake your squash segments with olive oil, salt and pepper until it's evenly coated.

- Pop your squash in an oven and bake it until it's golden-brown and very soft when you poke with a tip of a knife.

- Remove from an oven. Let it rest for about 10-15 minutes. While it's still warm, transfer to a large bowl, sprinkle evenly with lime/garlic mixture and dust with a lime zest. Shake the bowl with squash pieces lightly to distribute your garlic/lime mixture more evenly.

- Serve and enjoy!

*********************************************************************************************************************************
IN PICTURES

Be careful cutting your squash in sections - use your biggest chef knife, you will need some extra force.


Usually I try to have squash section to stay up on a baking tray. But make no fuzz about it - if some will end up laying on a side - you'll get one-side browned section which is still good and fun to eat.

Those lemons are not looking as limes.. at all.. I know... Sometimes when I don't have limes on hands I use lemons but my preference would be still limes for this recipe.
My acorn squash was pretty large, so I decided to use two lemons this time and a lot of garlic - it was a little bit too much though....


Important Notes
- Wash your squash thoroughly, with a brush, as you will be eating it with a skin.
- garlic breath warning: this squash is not something you would want to eat going on a date or to the theater ;)
 
Variations
- I have being applying this recipe to a butternut squash and plain pumpkin - it was still perfect! You just need to peel butternut squash and pumpkin - their skin way too tough to enjoy.
- Use lemons instead of limes if you wish. Although I prefer limes.